DIY DRIED FLOWERS
- Kaylee Parsons

- Apr 13, 2021
- 2 min read
I love having fresh flowers around my home! Instead of throwing them away after a week or so, I have started drying them out instead! Not only does it make you feel like you are getting more bang for your buck- dried floral arrangements are also beautiful and will last much longer!
What you will need:
Fresh Flowers
Scissors
Twine/String
Rubber Bands
Nails/Thumbtacks
Step 1)
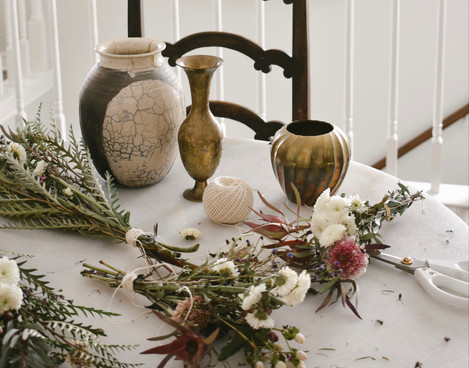
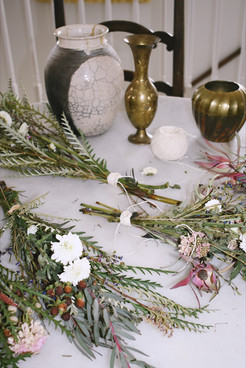
Collect the fresh flowers from around your home. Make sure to dry off the stems that have been submerged in water. After drying them off, trim the bottom of the stem with scissors. Depending on the length of the stem I cut off about 1-2 inches.
Here are the arrangements that I used!

Step 2)
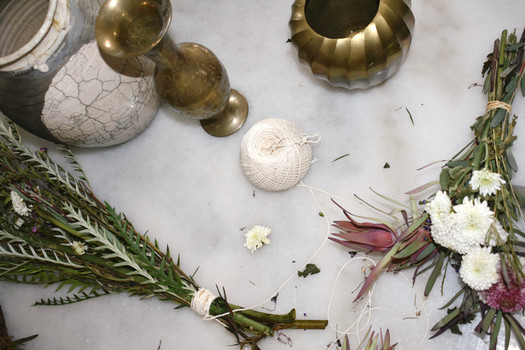
Take your florals and create smaller bundles. I treated these like mini bouquets and used a variety of greenery and flowers in each bundle. Once I had the bundle created I would then wrap the end of the stems together with a rubber band. The stems will shrink as they dry so make sure to get your rubber band as tight as possible!
Step 3)
Cut your twine into a relatively long piece. You will want to be able to wrap it around the rubber band multiple times to cover it and still have some slack after you knot it. I placed the bundle in the middle of the cut piece of string and then wrapped the left side as many times as possible, followed by the right, and then tied them in a knot. Make sure you have at least 6 inches left outside of your knot. You will use this extra string to hang the flowers.


Step 4)
Next you will need to find a location to hang the flowers. I hung mine between a window that gets a lot of sunlight to help with the drying process. To do this cut a piece of the string or twine that you used to wrap the flowers. If hanging in a window, this piece of string will need to be long enough to span from each side. I used two nails to hang mine, but you could always use thumbtacks if you feel more comfortable. After putting a nail in each side of the window frame, I then tied the string to each nail. Make sure to tie this as tight as possible because the weight of the flowers will cause it to droop lower.
Step 5)
You will then use the extra slack from the string you wrapped around the rubber band to tie the flowers to the string you hung between the window. If your arrangements are different lengths I recommend hanging the longest arrangement in the middle and the shorter arrangements on the outside of it to avoid the flowers touching.

Step 6)
From here you will leave the arrangements hanging for over a week to ensure that they dry out completely!
Step 7)
Although I love the look of the flowers hanging in the window frame. You can also use the completely dried flowers to make a new arrangement. I added dried pampas grass to mine to add a little more dimension! Whether you want to leave them hanging or style them in a vase that is completely up to you!
Here's how my dried florals turned out!


Comments